
- Video
- Slideshow
- Instagram shop
- Banner image
- Banner with text
- Blog posts
- Collection list
- Collection packery
- Custom content
- Collection Link
- Scrolling text
- Divider
- Faq
- Gallery
- Google map
- Image box
- Newsletter
- Product single
- Products carousel
- Collection tab
- Custom HTML
- Products deal
- Products grid
- Products list
- Products list carousel
- Products recently viewed
- Testimonials
- Tiktok video
- Shop the Look
- Spacing
- Age verifier popup
- Animation
- Counter
- Shopable video
Lookbook

Written by ThuHuong_FE_NextSky
Last updated
A guide to set up a collection list
Create your online store today with Shopify
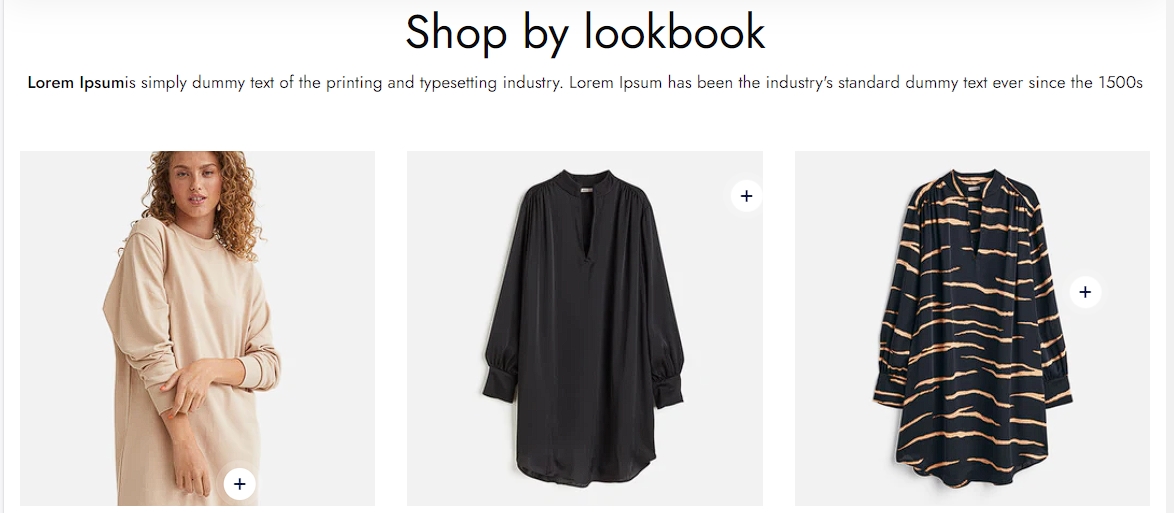
This section allows you to create images packery called Lookbook, you can freely design your lookbook in many ways you like. Its very flexible.
Steps
1.
In the theme editor (Customize), click Add section
2.
Locate Lookbook
3.
Save
Gallery settings
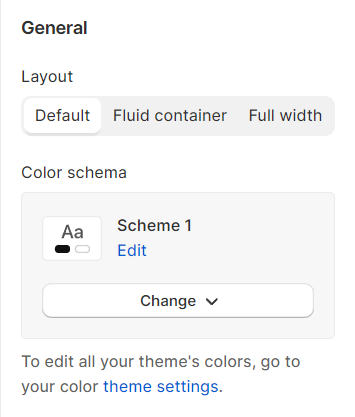
1. Section header and general
Use the provided text fields to add a suitable heading/subheading/description. Leave any of them blank if you do not want to display them.

Layout: You can choose between Container, Wrapped container, Full width for the banner layout.
Color schema: You are allowed to change text color, background color with preset color.
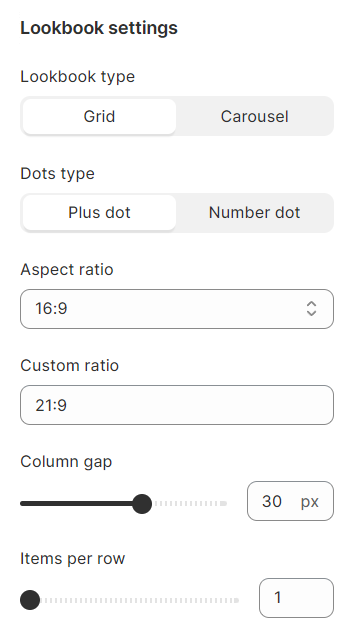
2. Lookbook settings
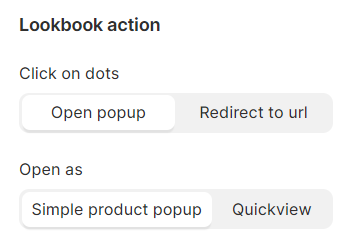
3. Lookbook action
Click on dots: Open popup, Redirect to url
Open as: Simple product popup, Quickview
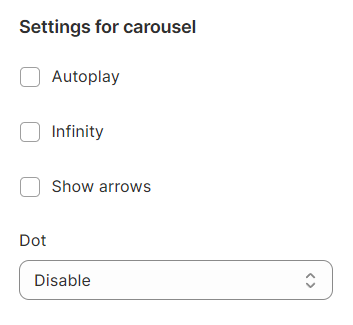
4. Carousel settings
Select Enable slider and Auto slide options to run the list automatically.
You can also use pagination or navigation
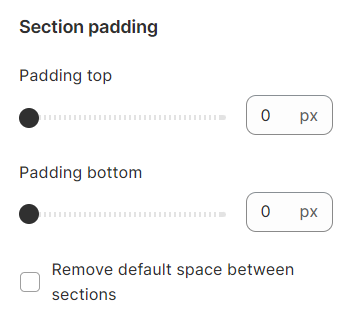
5. Section padding
Section padding allows you to specify the space between the slideshow and the preceding or following sections, or both.
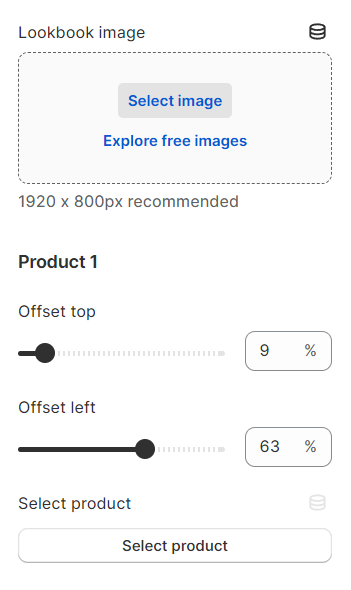
6. Lookbook item
To tag products on the item image, you must add the chosen products. Then, use the offset top and left to adjust the annotation icon. You can add up to 5 products/annotation icons for one lookbook item (image).
Add focal point: This feature helps you select the most important part of an image for your store. It ensures that the focal points of the image always remain visible, even if a section crops the image to fit the layout.


Please follow this link for more information.