- Edit Product Page
- Breadcrumb
- Product Sidebar
- Left Sidebar
- Right sidebar
- Drawer sidebar
- Product Thumbnails Position
- Thumbnails Left
- Thumbnails Right
- Thumbnails bottom
- No Thumbnails
- Grid 1 column
- Grid 2 column
- Inner zoom 1
- Inner zoom 2
- External zoom
- Product summary
- General Option
- Product title
- Short description
- Product Review and Sold
- Product price
- Visitors counter
- Product custom field
- Custom HTML
- Product meta
- Trust badge
- Delivery and Return and Pickup availability
- Product form
- Stock countdown
- Product addons
- Size chart
- Show compare color
- Show Ask a Question
- Show share
- Product swatch
- Product label
- Custom TEXT
- Guarantee safe checkout
- Custom liquid
- More Products Color
- Countdown timer
- Subscriptions
- Tab Review
- Tab Custom
- Setup Frequently Bought Together
- Variant Image Grouped
- Setup Stock notification form
- Setup Product group
- Products recently viewed
- Product recommendations
- Product information tabs
- Tab Description
- Product Description
- Layout 3
- Layout 2
- Layout 1
Product vendor logo

Written by ThuHuong_FE_NextSky
Last updated
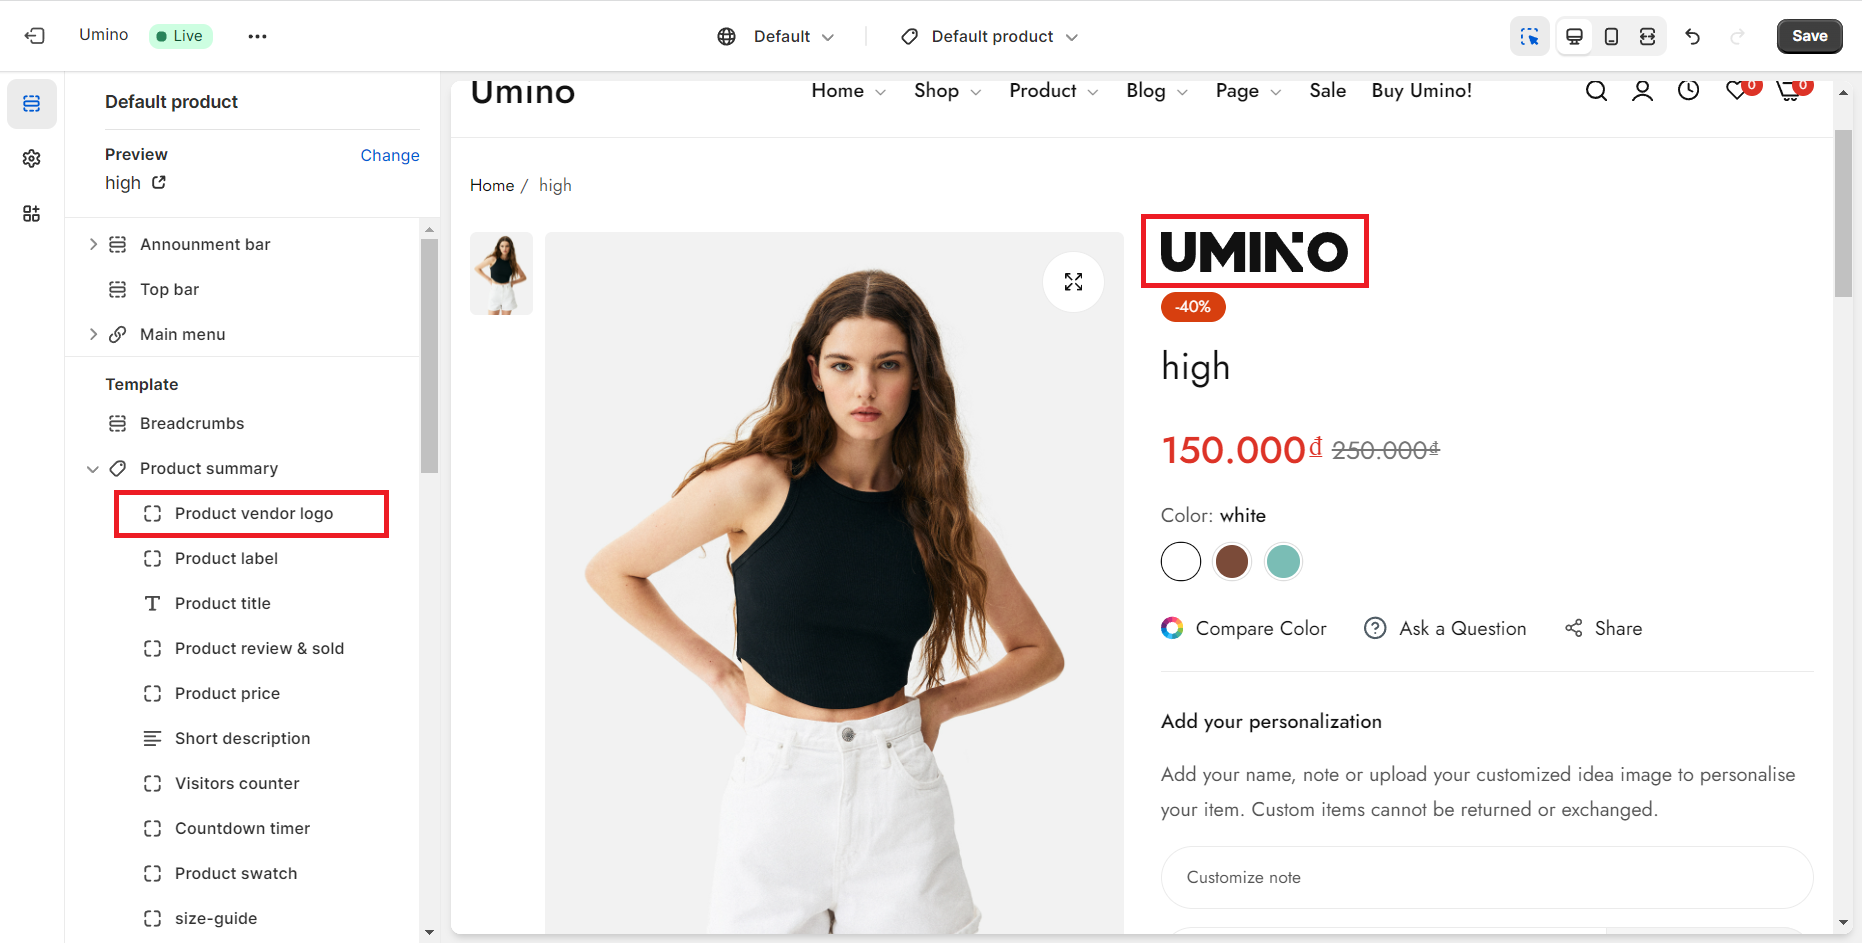
Make your product page more interesting by putting your brand logo on it.
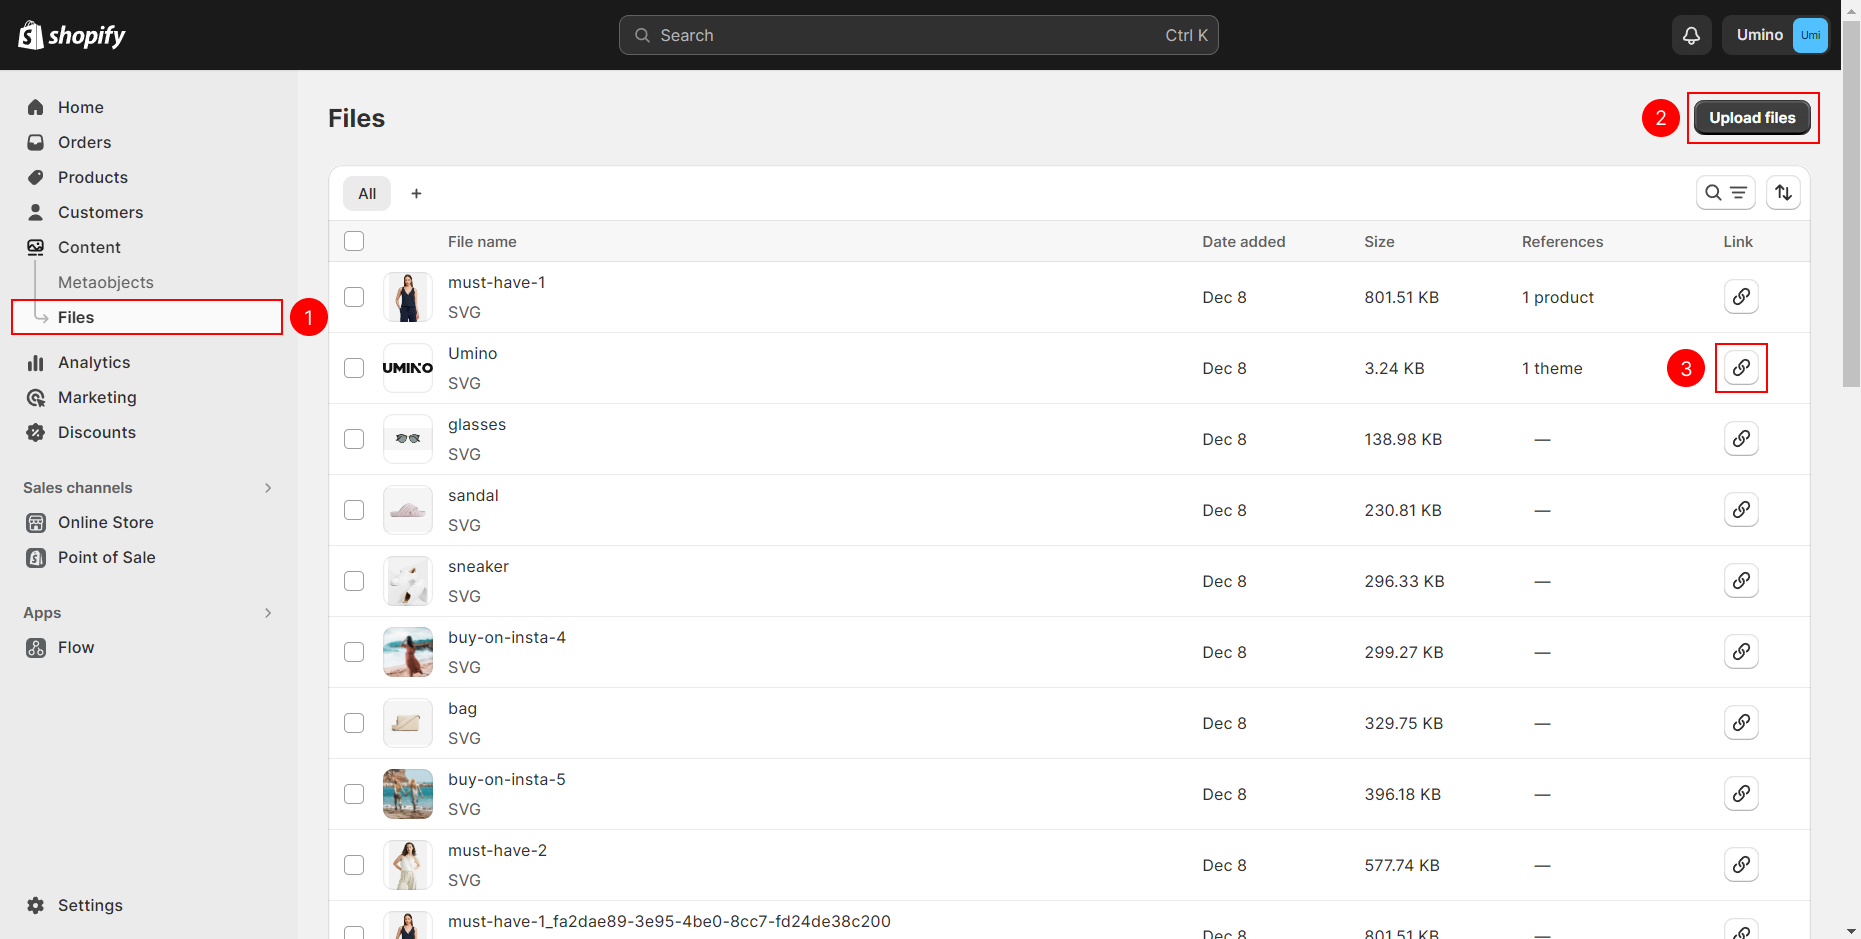
Step 1: Add and Copy the Brand Image Link
Add the Image: Navigate to the left-side bar on the Shopify Admin, go to Content, select Files, and then click on Upload files to upload your brand image.
Copy Image Link: After a successful upload, locate the symbol associated with the uploaded image and click on it to copy the image link.
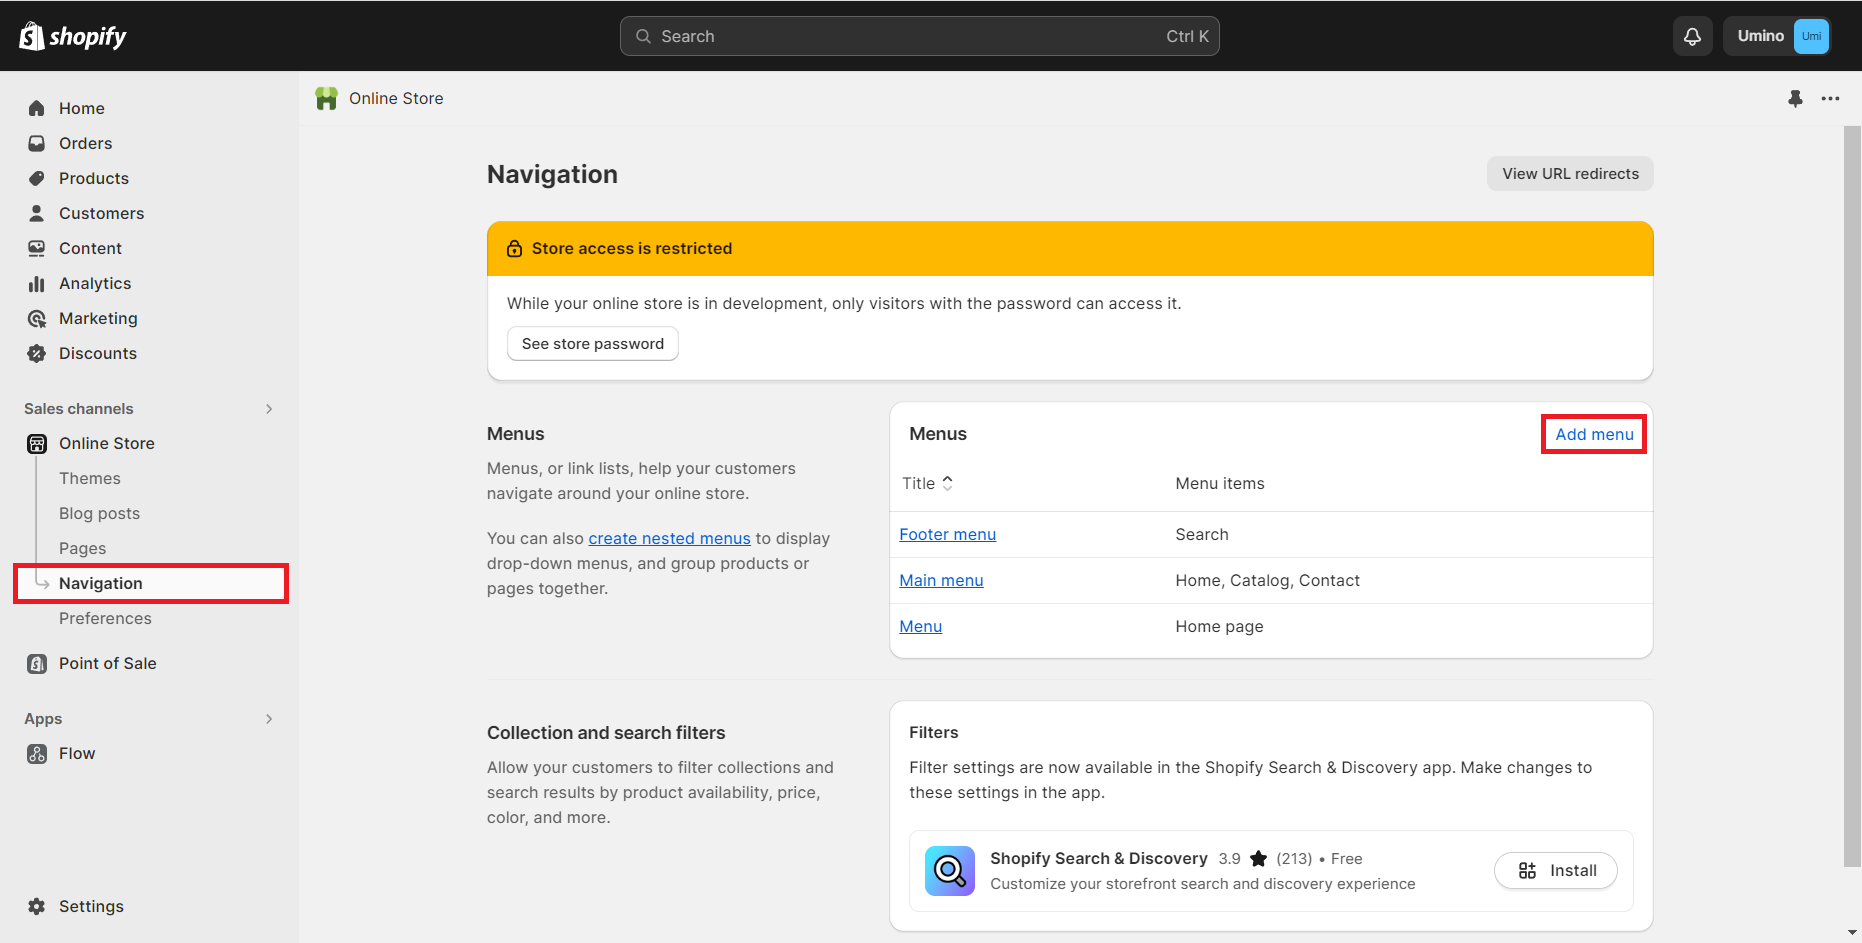
Step 2: Create a Handle Menu for the Image
Add Menu:
Return to the Shopify Admin, navigate to Online Store, select Navigation, and then click on Add Menu.
Create Handle Menu:
For this feature to work properly, fill in the title using any combination of uppercase or lowercase letters, and make sure to set the handle as "umino-image-vendor".
Handle has to be "umino-image-vendor" to make this feature work.
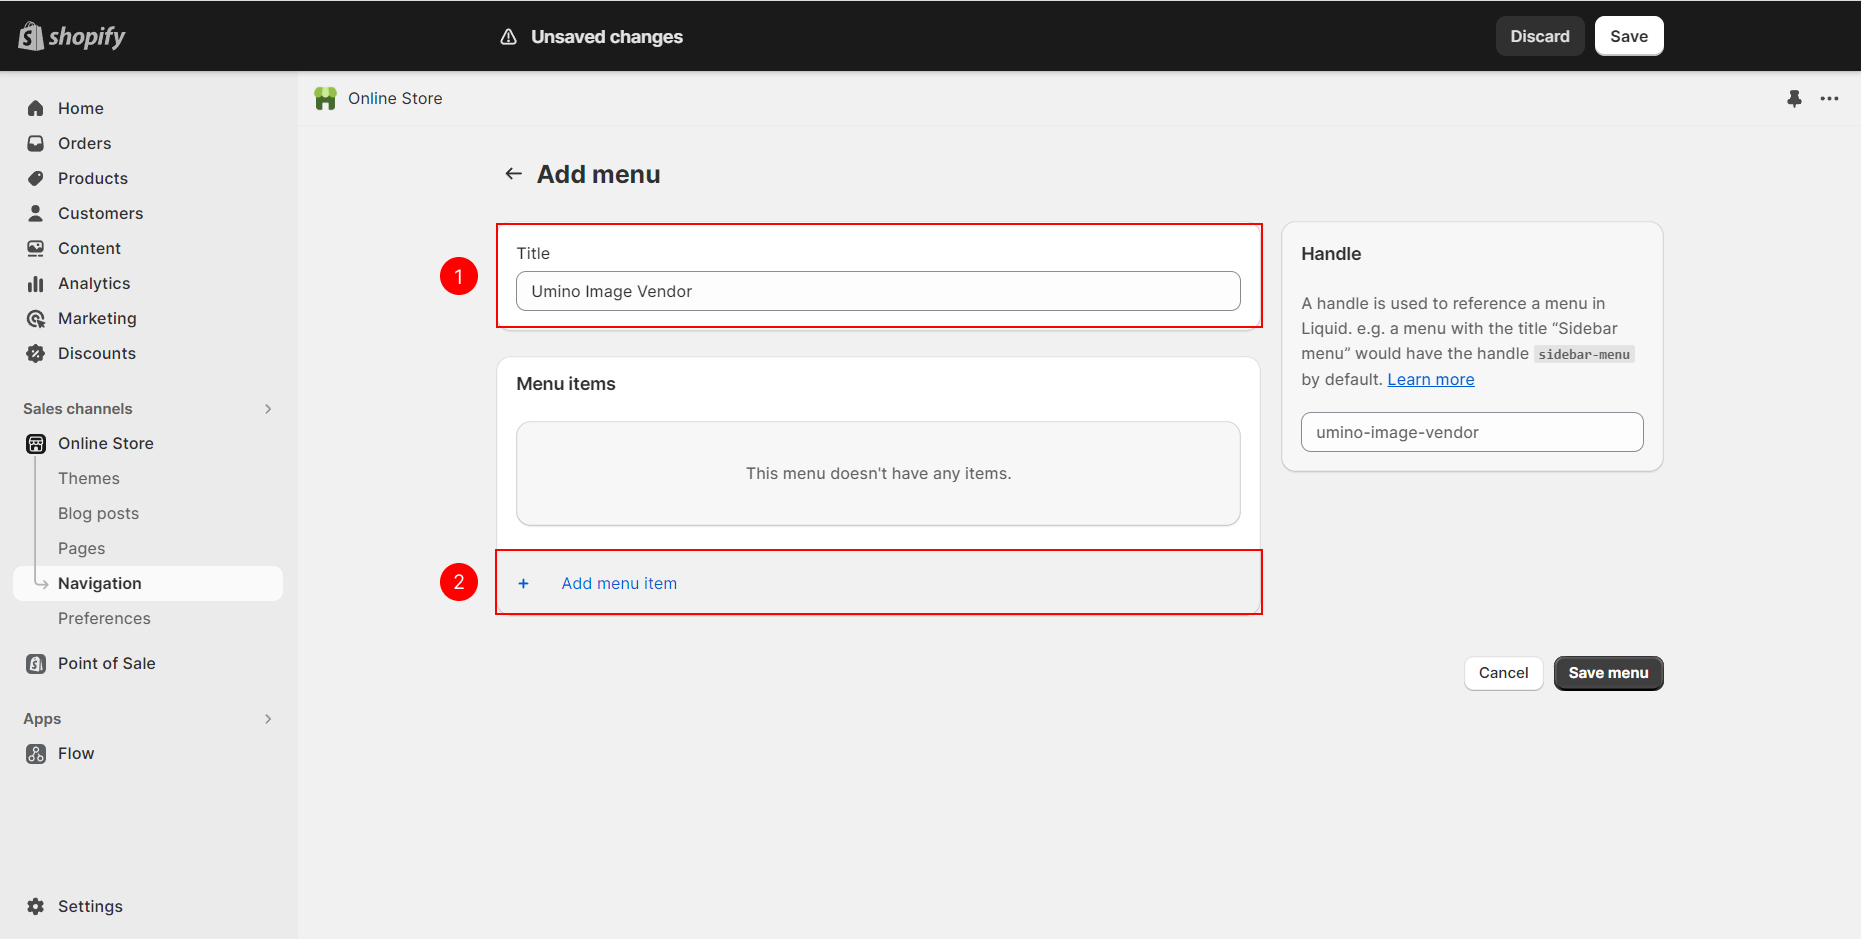
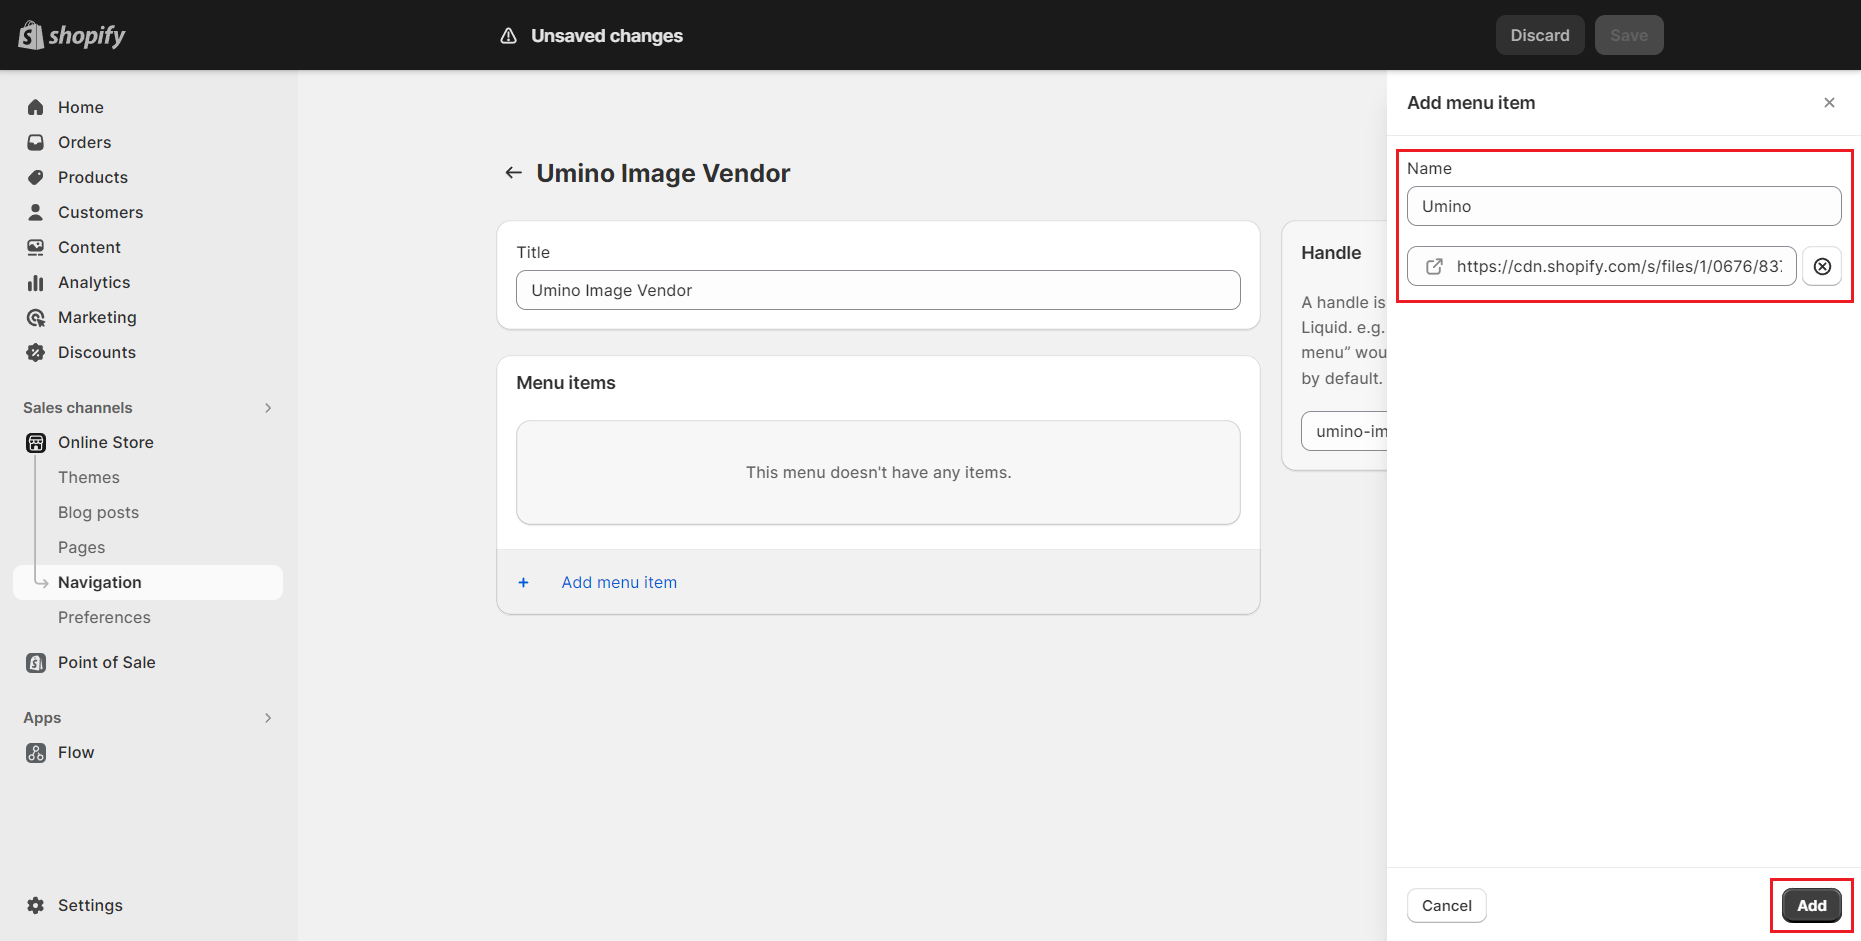
Next, add a menu item:
Name: Specify the menu item's name to match precisely with the product vendor's name.
Link: Paste the image link that you copied in Step 1 into the designated field.
Click on "Add" to complete the process.
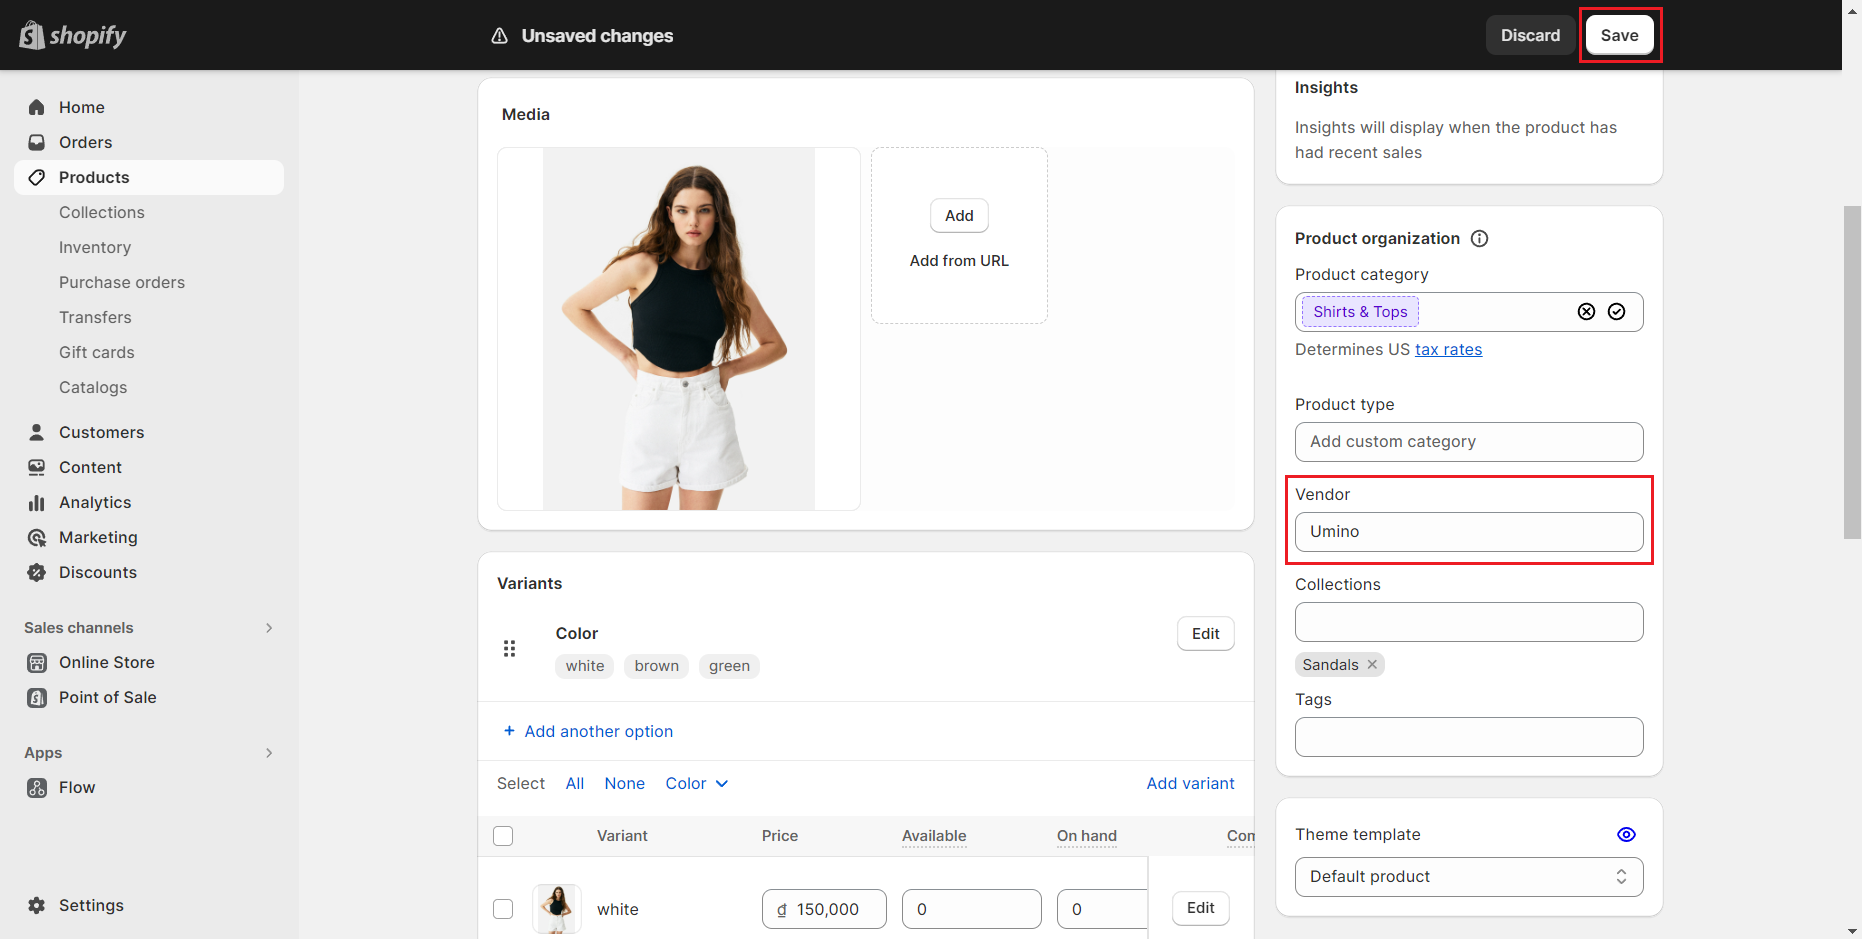
Step 3: Add Vendor in Product
Navigate to Shopify Admin.
Go to Products.
Choose the specific product for which you want to add the brand image.
Fill in the Vendor information for the product.
Ensure that the entered vendor name matches exactly with the name of the menu item created in Step 2. This alignment is crucial for the brand image to be associated correctly.
Step 4: Add Brand Image
From Themes ==> Customize, go to the Product Page of your specified product.
In the Product Summary section, select "Add Block".
Choose "Product vendor logo".
The brand image that you previously added will now be displayed automatically on the product page.